How to Create a Procedure Using SweetProcess
This procedure shows you how to create your own procedures with SweetProcess. You can edit this procedure, approve it so it becomes the live version, delete it, or share it with anyone who will be documenting procedures.
-
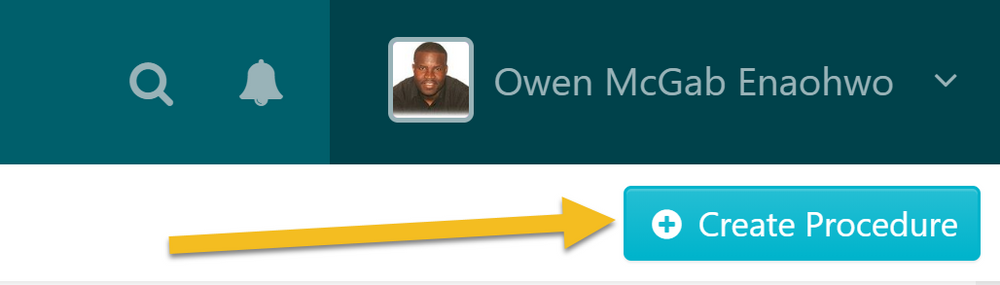
1Log in and click the "Create Procedure" button
-
2Enter the title of the procedure.

-
3Add the procedure to a team or multiple teams.
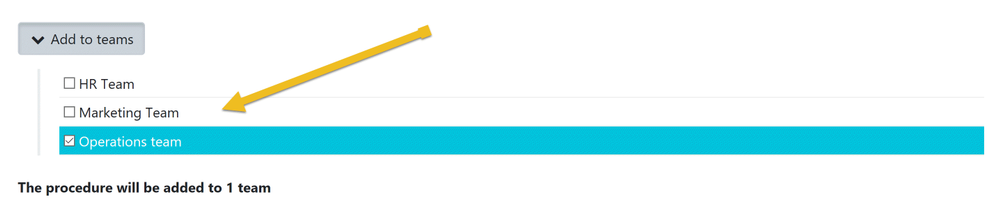
Click on a checkbox to add the procedure to a team or on multiple checkboxes to add the procedure to multiple teams at the same time. -
4Click on the "Continue" button.
-
5Click on the title of the procedure to add a description.
 Click the Title area to begin editing.
-
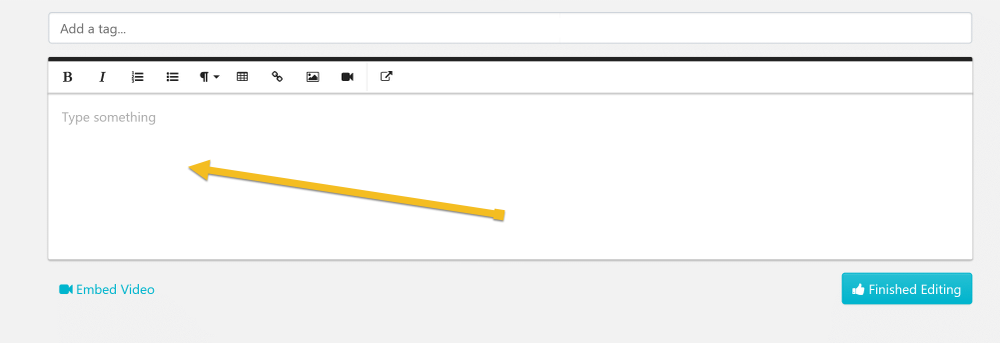
6Enter some tags
 By making use of a tag, you will be assigning an index keyword/phrase/term to a procedure so that it can be quickly identified.
-
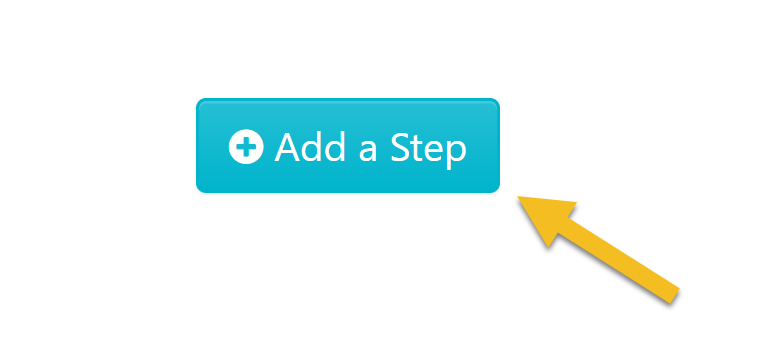
7Click on the "Add a Step" buttonClick the "Add a Step" button to begin editing.
-
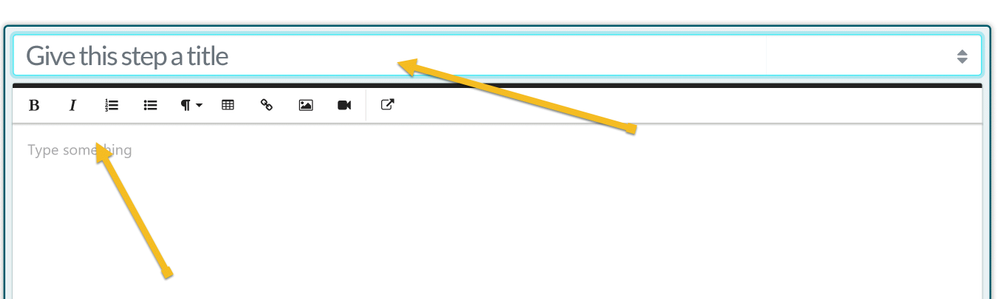
8Give the step a title & description
-
9Add images to the step
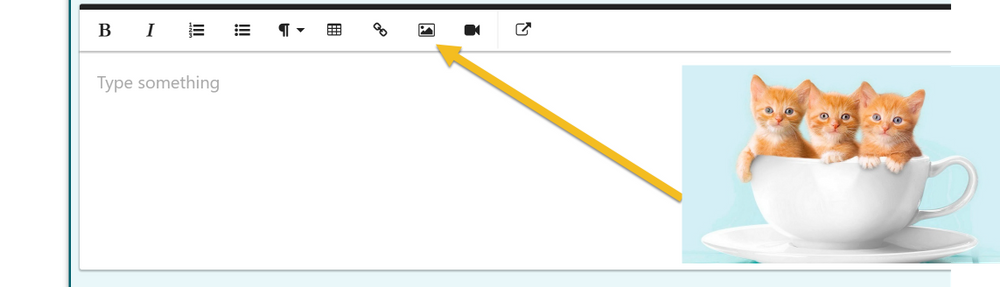 Drag and drop images from your computer into the image drop area.
-
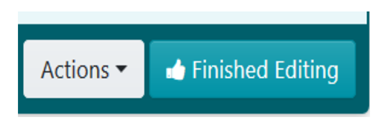
10Click on “Finished editing” to save the draft of the step.
-
11Click the “Add a step” button to add a new step... Repeat steps 7, 8, 9 and 10 to enter and save the details of the new step.
-
12Repeat step 11 until you have added all the steps you need to document the procedure.
-
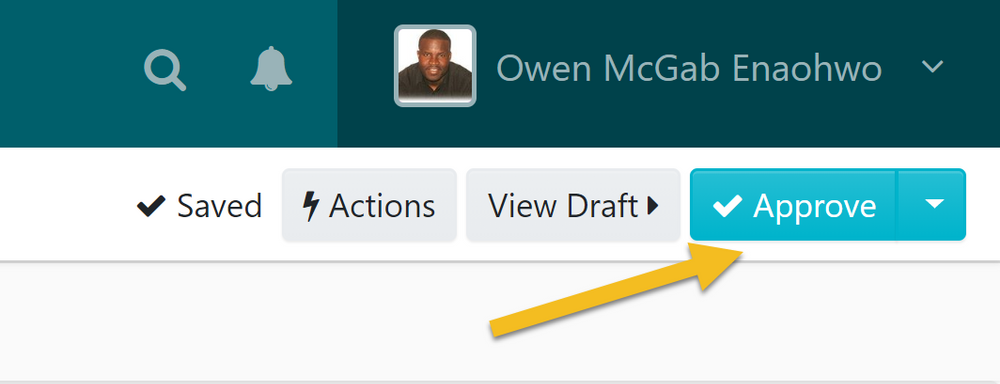
13Finished editing the draft of the procedure? Click the "Approve" button to make it the live version of the procedure.
Note: if you do not have the ability to approve the procedure, you will be able to request approval by clicking on the "Request Approval" button as shown below.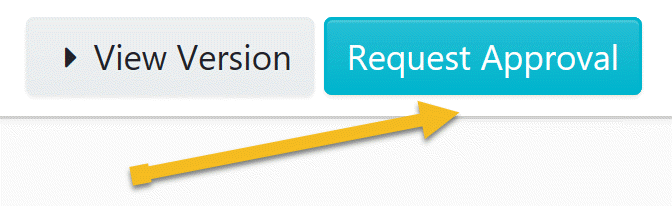
-
14All done? Click on "Procedures"This will take you back to the dashboard, where you can manage all of your procedures.
