Created With
Make a Facebook Banner with Picasa
Overview
We'll use Google's FREE Picasa software to create a professional looking banner for our Facebook site.
Download Picasa
Visit
http://picasa.google.com
Download and install the Picasa software.
Edit a photo with Picasa
When Picasa first opens, it will ask to scan your documents for some photos.
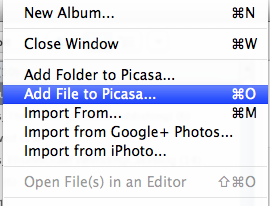
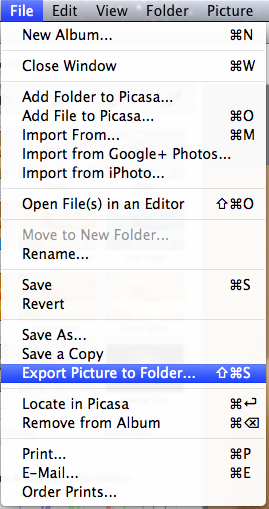
If the photo you would like to use wasn't found, then add it to Picasa from the File menu then "Add File to Picasa"
Edit your photo
Double click to begin editing the photo you'd like as the background.
Crop the image for Facebook
Facebook's cover photo must have the pixel dimensions:
851 wide x 315 tall pixels
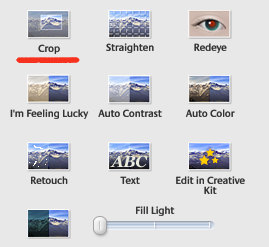
Select the "crop" option.
Add a custom aspect ratio
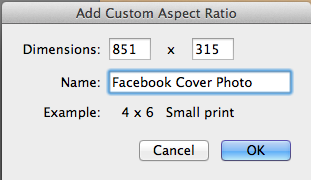
We'll make it easy on ourselves and define the correct Facebook Cover Photo size as a Crop ratio.
Then we can crop out a rectangle and have it exactly fit Facebook's requirements.
Fill out your custom aspect ratio
We've given ours the width and hight to match Facebook's requirements. And a name so we can easily remember it later.
Crop the picture
Click and drag on your picture to create the cropped area.
The area in lighter colours will become our Facebook Cover Photo. The darkened areas will be cropped away.
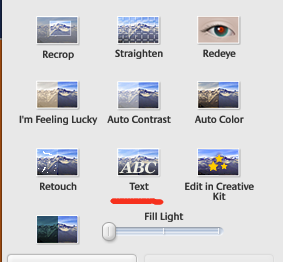
Add some text
Finally we'll add some text and save the image.
Export your image
Use the "original image size" option when exporting for best results.
Now you can upload your new cover photo to Facebook.
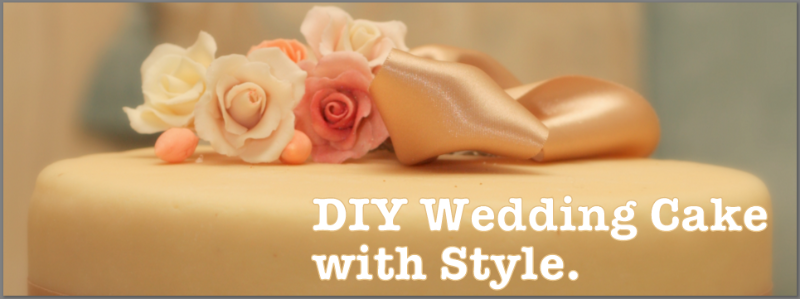
The Finished Product
Here's a sneak peak at what our example Facebook image looked like!