Apple - MacOS Upgrade End-user procedure
Purpose & Overview
This procedure is to be utilized by end-users who are completing a MacOS update via the Addigy MDM platform.
Scope
All end-users upgrading MacOS versions via the Addigy platform.
This procedure is to be utilized by end-users who are completing a MacOS update via the Addigy MDM platform.
Scope
All end-users upgrading MacOS versions via the Addigy platform.
-
1Pre MacOS Upgrade
- Once the MacOS upgrade process has been initiated by Next7 technician, you will receive a pop-up box on your screen to install the new version of MacOS. Click Install to begin downloading this image in the background. This download image is around 15 GB in size – the download time will vary based on your internet connection.
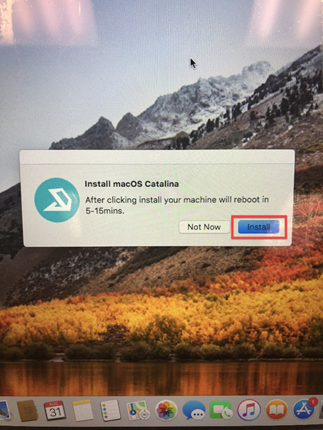
- Once the image is done downloading, your MacBook will restart to begin installing the new OS version.
Be sure to plug your MacBook in to a power supply to ensure that the device will not die while upgrading.
Be sure to leave your MacBook connected to your wired or wireless network to ensure that the OS download does not fail.

- The estimated installation time will be presented on your screen. Typically, the upgrade of MacOS versions will take about 1 hour to complete.
- Once the MacOS upgrade process has been initiated by Next7 technician, you will receive a pop-up box on your screen to install the new version of MacOS. Click Install to begin downloading this image in the background. This download image is around 15 GB in size – the download time will vary based on your internet connection.
-
2Post MacOS Upgrade
- Once the upgrade has completed, you will be launched to the log in screen. Log in to your user account.
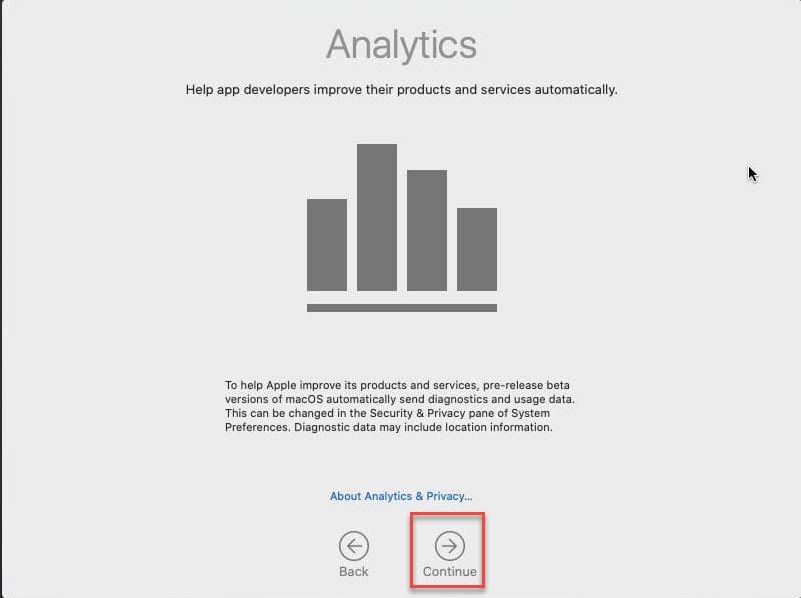
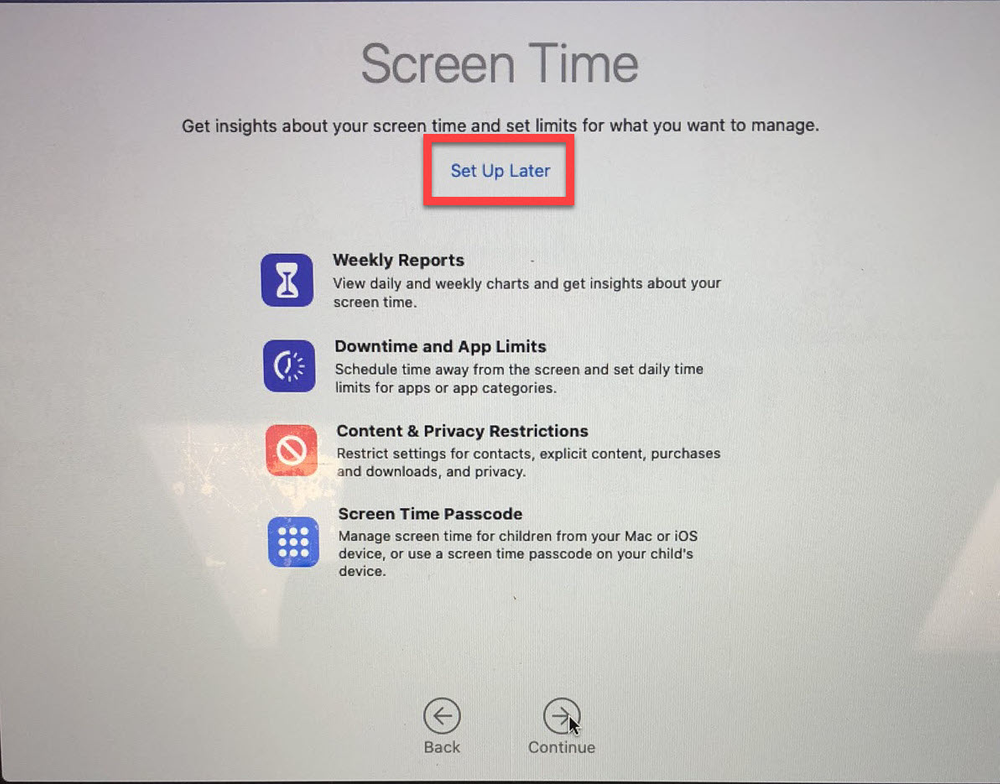
- Walk through the basic settings setup once you have logged in to your account.
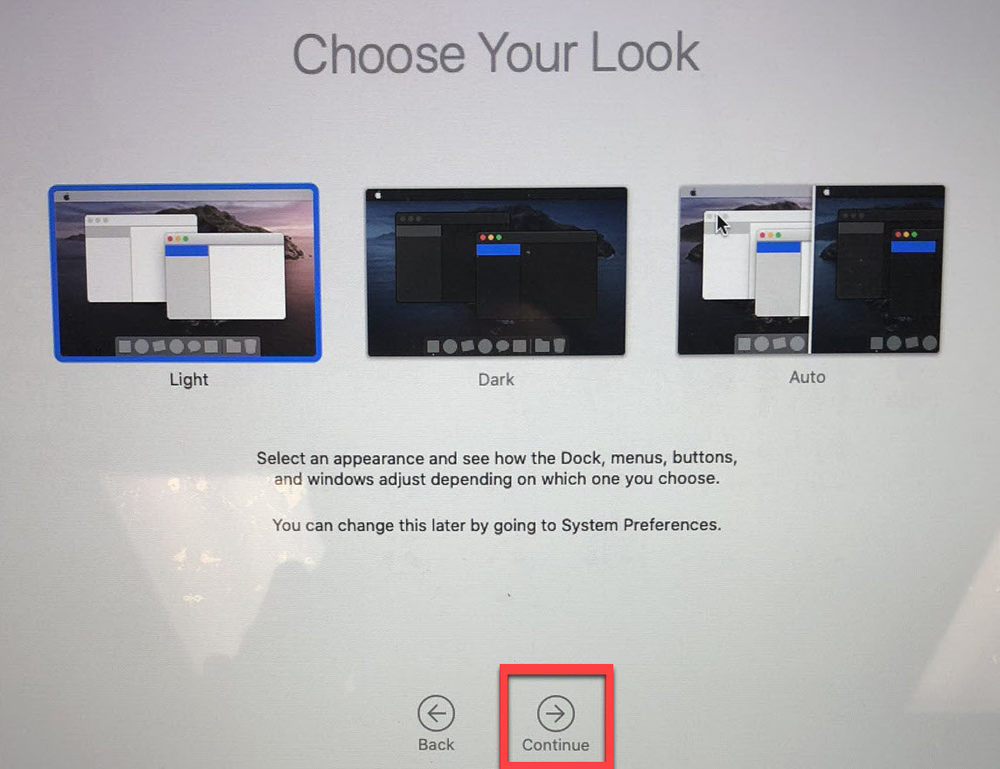
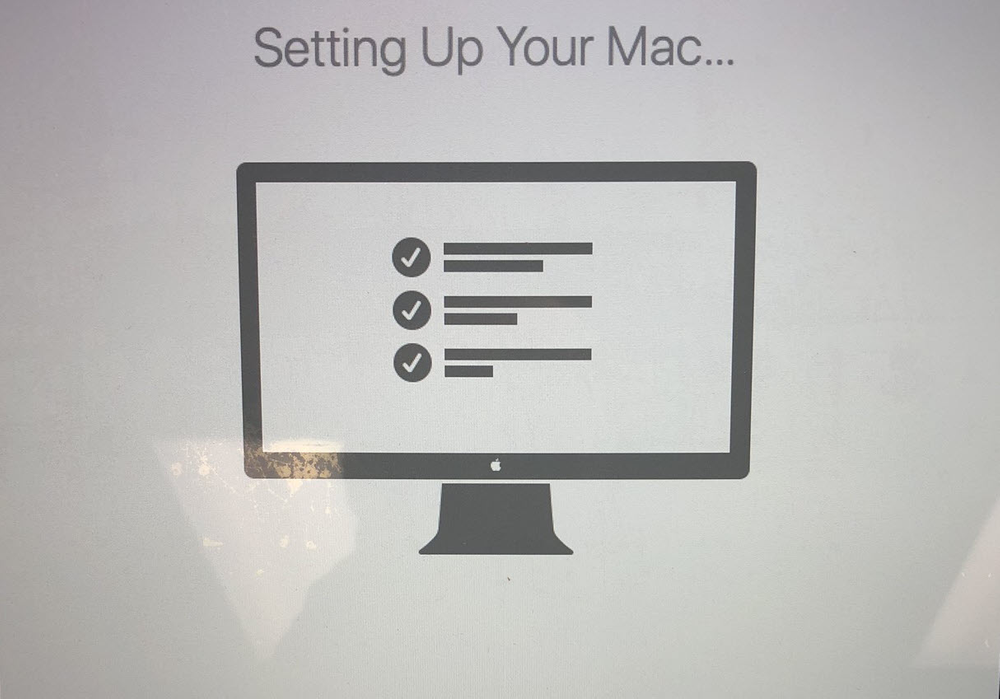
- Once completed, you will be launched to your desktop - The upgrade has now been completed!
-
3Allow remote connection to MacBook following upgrade
- Reach out to the Next7 support technician you are working with via email or direct phone number to inform them that the upgrade has completed.
Next7 main support line: 412-573-9684, option 1. Ask for technician that is working with you on upgrade.
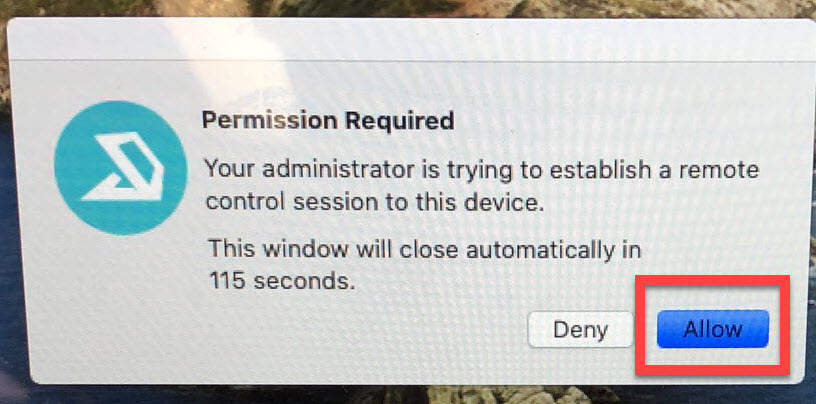
- Once the technician attempts to remotely connect to your MacBook, you will receive a pop-up box on your screen. Click Allow to initiate the remote session.
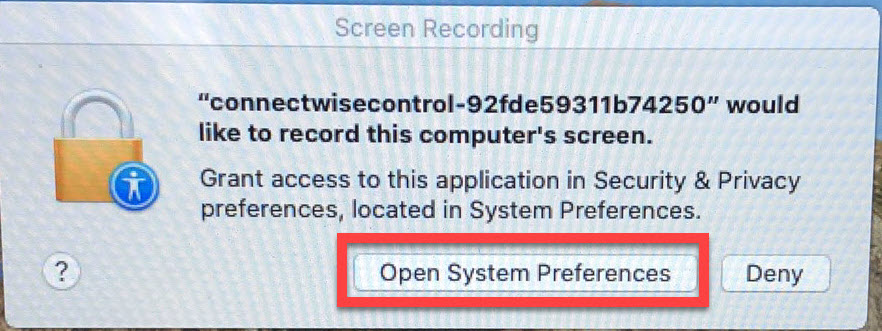
- An additional box will then present itself to allow the needed permission changes. Click Open System Preferences.
- You will then be taken to the Screen Recording privacy settings for your MacBook. Tick the box next to connectwisecontrol.

- Once the tick box has been checked, click Quit Now on the box that will then pop up on your screen. This will save the privacy settings.
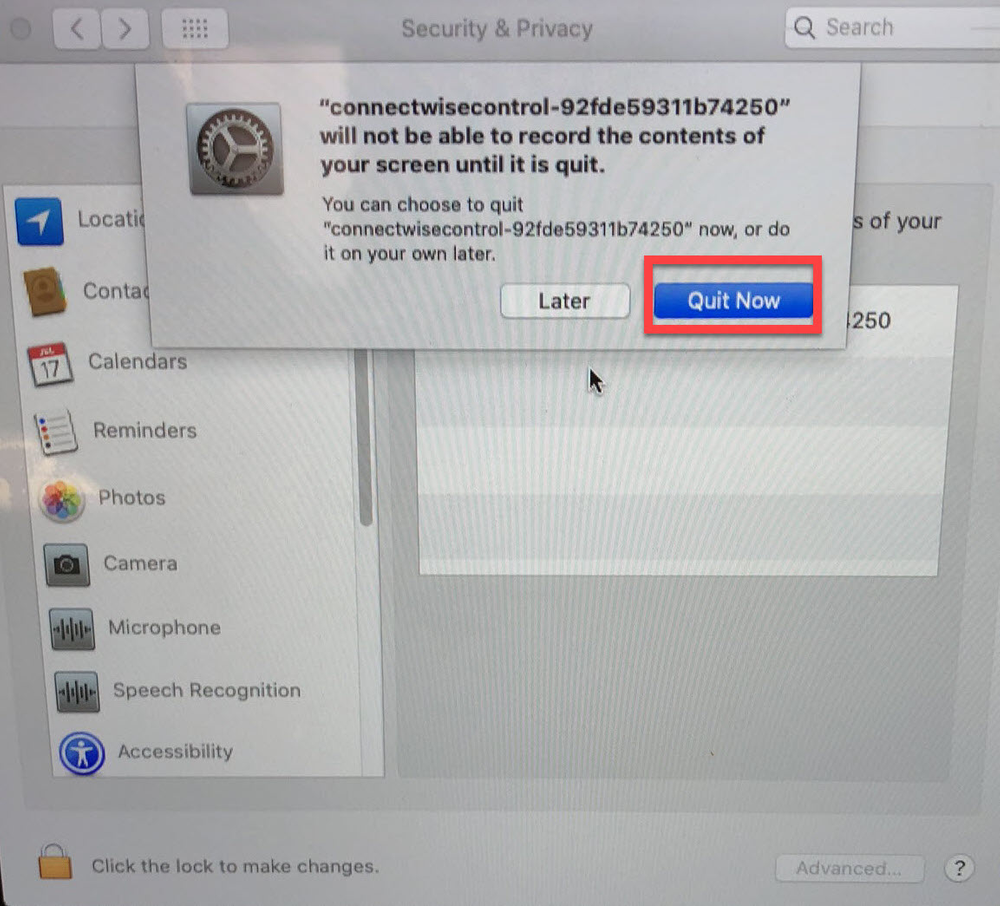
- Reboot your MacBook to ensure the remote profile is set and working properly.
- Reach out to the Next7 support technician you are working with via email or direct phone number to inform them that the upgrade has completed.
-
4End
Did this answer your question?