Anterior Case Protocol
-
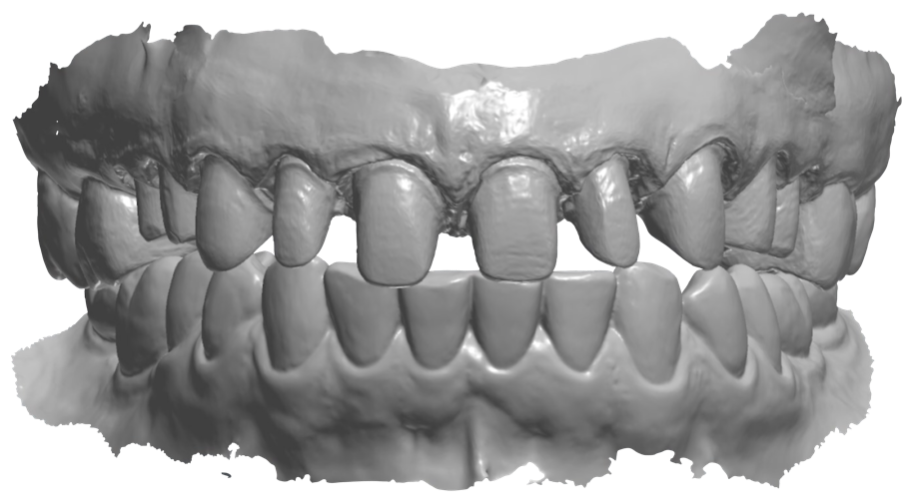
1Provide scans of the upper, lower, and bite.
- If requesting 4 or more units, include a full arch scan.
- If 3 or fewer units, capture the contralateral side at minimum.
-
2Provide a scan of the temporaries or pre-op.
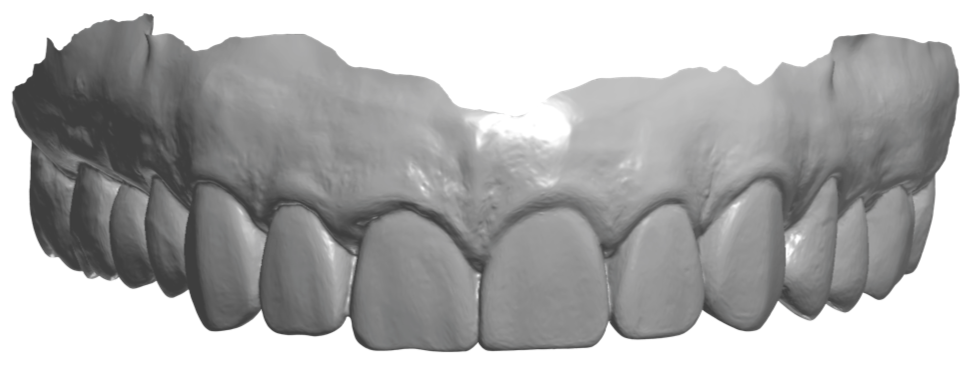
- Ensure the scan matches the picture of the face and teeth.
- Include notes of any changes needed.
-
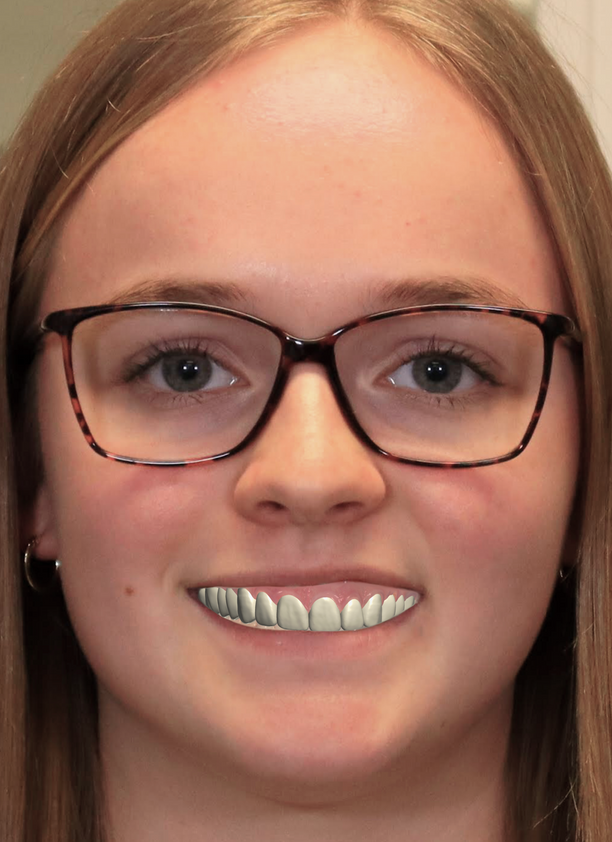
3Provide a good quality picture of the face with a full smile and teeth visible.The photo should be taken while the patient is standing from a proper focal distance (7-9 feet) to avoid facial distortion. Ensure the patient's head and shoulders are level with the floor.
Email photos to photos@digitaldentalleaders.com.
Crop the photo to frame the patient's face: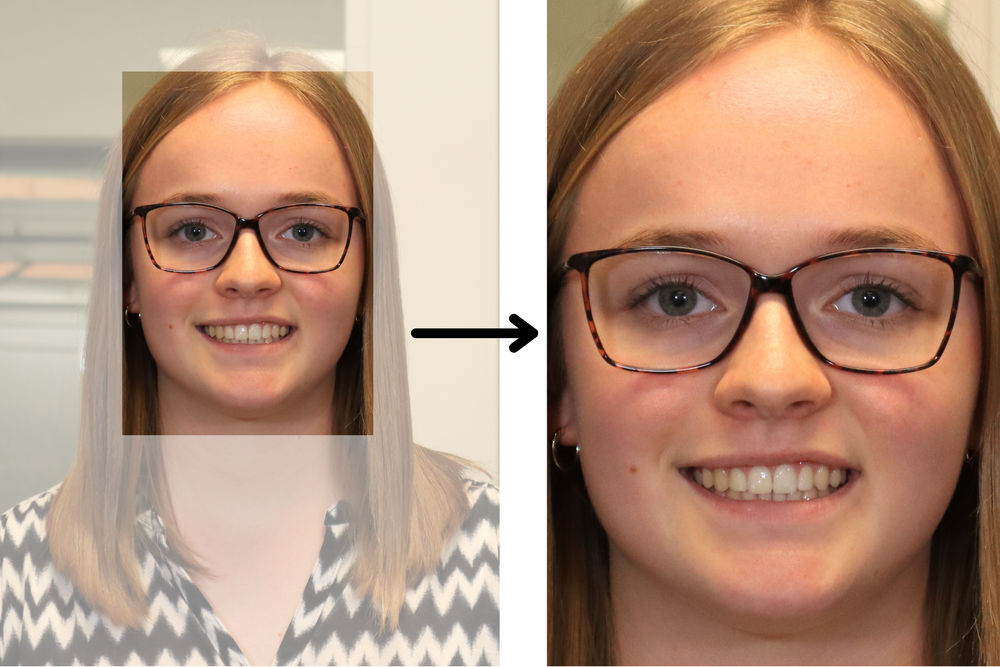
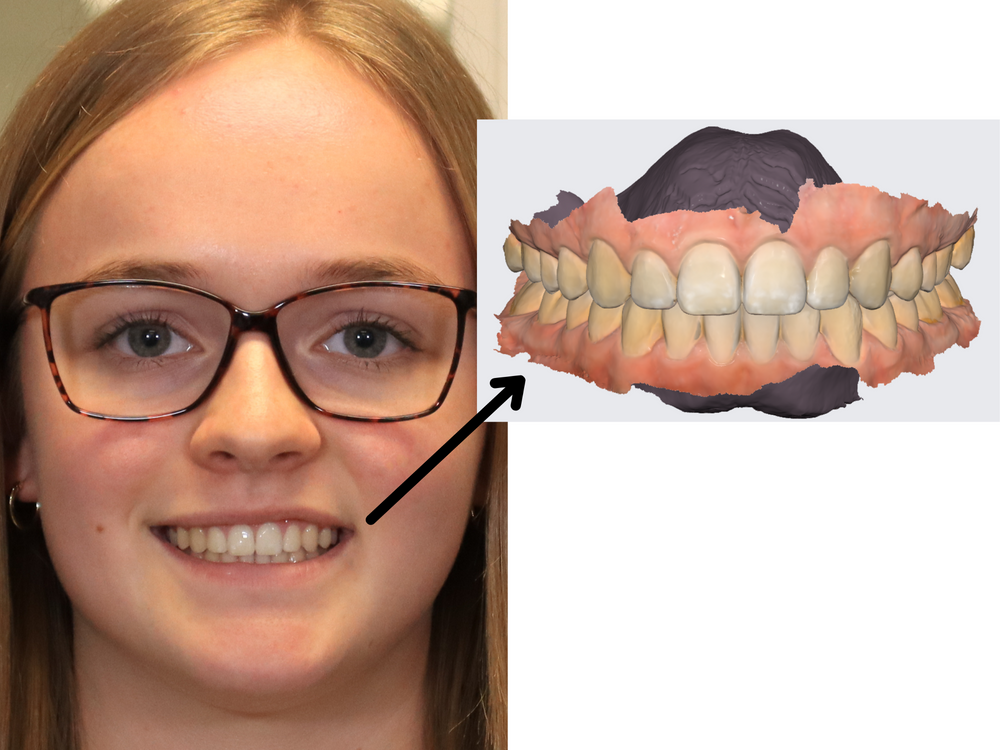
If we do not have a face picture, or the face picture does not match the scan, the design can look fine on the scan but not work in the mouth. In the example below, the design was canted in the patient's mouth even though it looked good on the scan.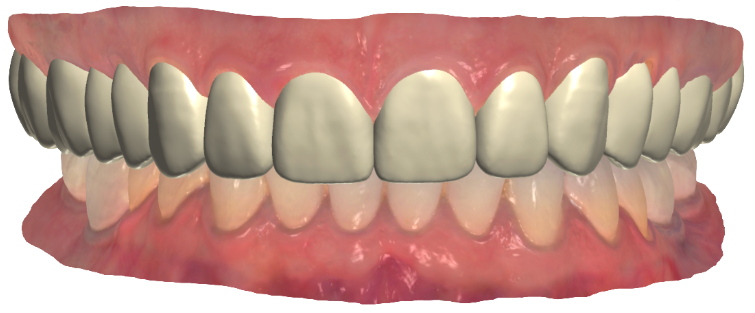
-
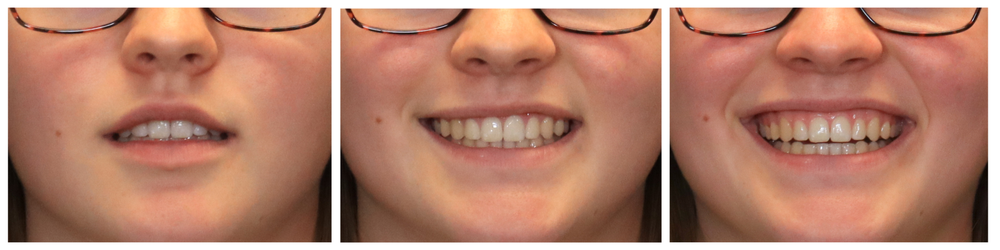
4Provide various clinical smile photos.For the best results, include three types of photos - a resting lip line, a normal smile, and an exaggerated smile.
-
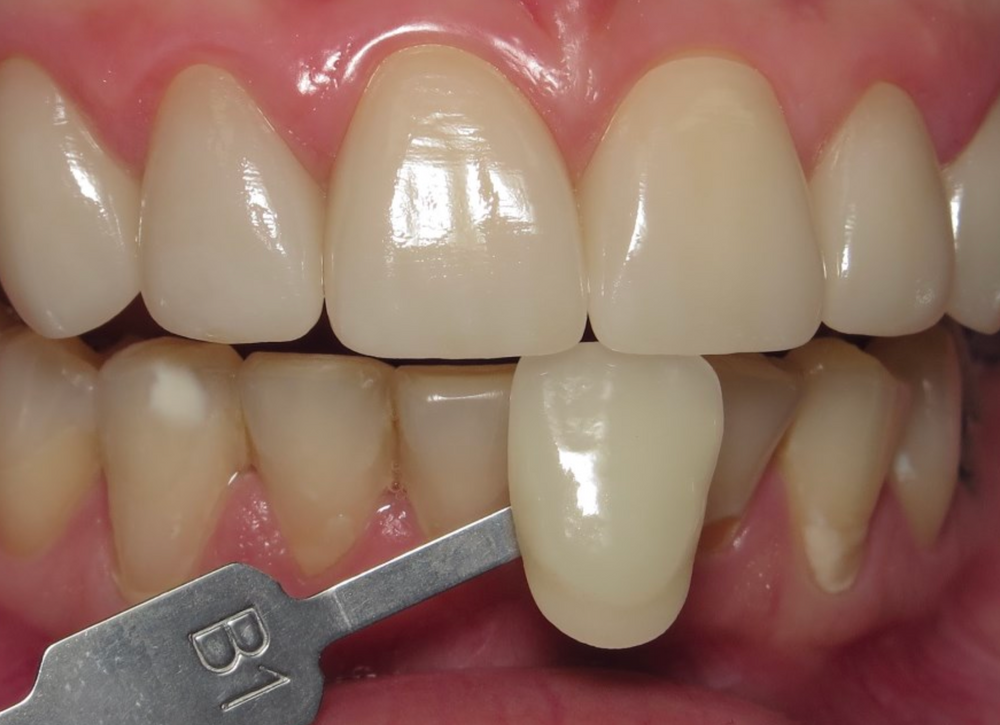
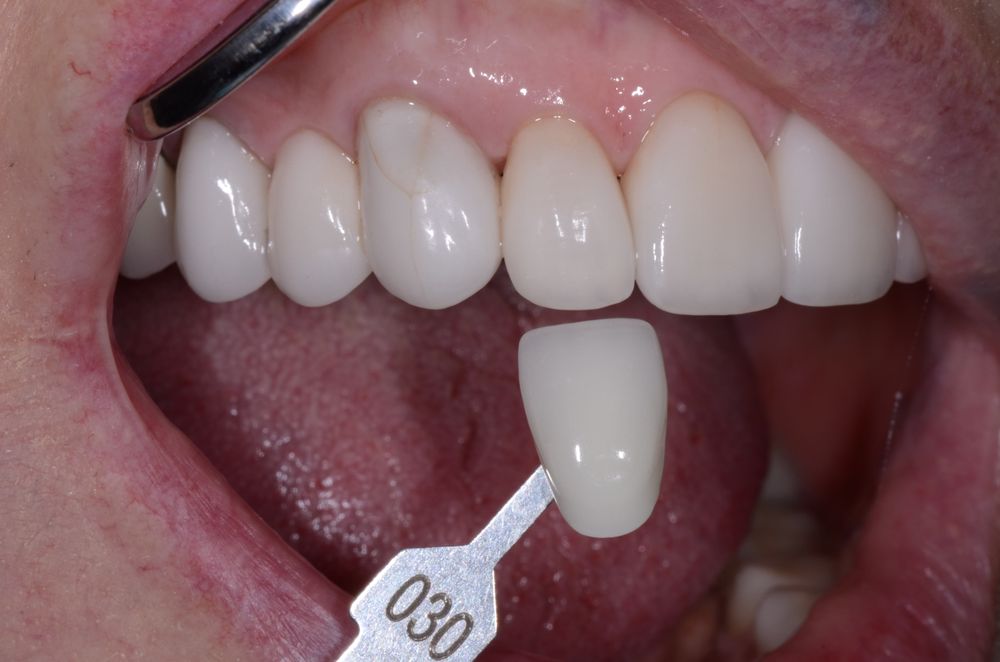
5Provide shade tab photos.For aesthetic anterior cases, it is vital to provide a photo with the shade tab visible.
- make sure the incisal edge of the tooth lines up with the incisal edge of the shade tab.
- take the photo where the lighting is sufficient.
- watch out for bad glare.
Did this answer your question?
If you still have a question, we’re here to help. Contact us