Shade Selection Guide
-
1Select the shade at the beginning of the appointment.
- Select the shade first thing, before taking the preop scan and prepping. Once the teeth dehydrate, you will not get a reliable shade.
-
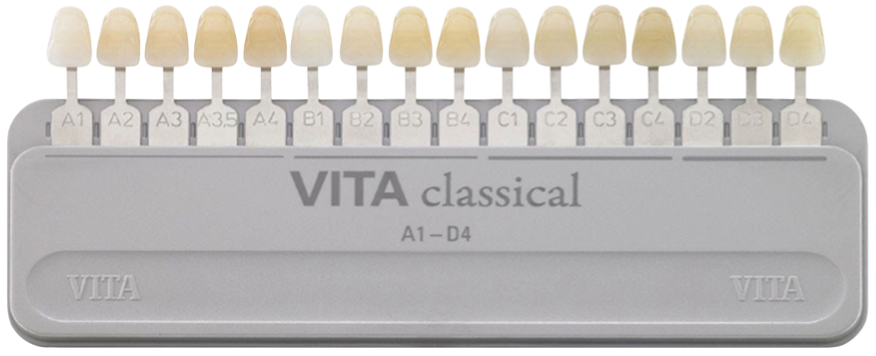
2Choose a VITA Classical shade for the base.When requesting a shade, choose a VITA Classical shade as a base for the restoration.
- All of our pucks are based on the VITA Classical shade guide, so this will provide the most accurate shade match.
- The correct VITA Classical shade selection will allow our lab technicians to choose the appropriate puck during milling.
-
3Use the VITA-3D MASTER shade guide as a supplement.The 3D-MASTER shade guide can be used as a supplement if the shade to be matched is closer to one of those tabs.
- This is meant to be used as a supplemental shade only.
- The only exception is the bleach shade guide: OM1, OM2, and OM3 can be used as base shades for milling.

-
4Submit a stump shade, if applicable.Upload stump shade photos if the stump shade is darker than the adjacent teeth.

When submitting stump shade images, use the VITA Classical shade guide, the VITA 3D-MASTER shade guide, or the IPS Natural Die Material shade guide (pictured below).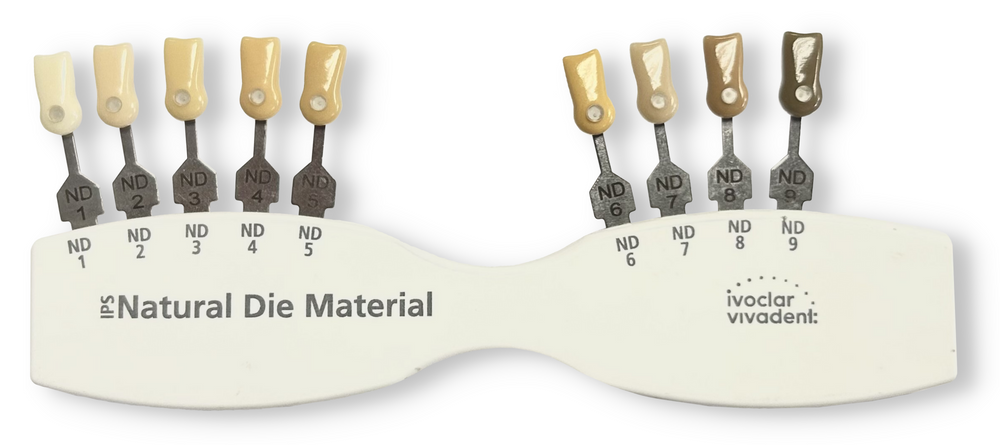
-
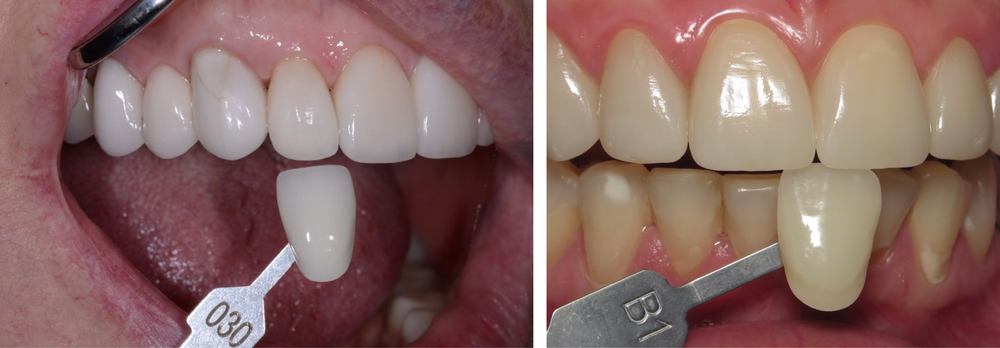
5Submit photos and additional information.
- For ideal shade matching, it is best to provide a picture with the shade tab visible.
- make sure the incisal edge of the tooth lines up with the incisal edge of the shade tab.
- take the photo where the lighting is sufficient.
- watch out for bad glare.
- Provide additional information (calcification, incisal translucency, etc.) to help us accurately match the shade.
- For ideal shade matching, it is best to provide a picture with the shade tab visible.
Did this answer your question?
If you still have a question, we’re here to help. Contact us