How to Create and Assign Step Lanes in SweetProcess
Step lanes in SweetProcess are a great way to clarify roles and responsibilities within a procedures or processes. They allow you to group specific steps under a "lane" (like a department or job title), making it easier to assign tasks to the right people later on.
Why Use Step Lanes?
Why Use Step Lanes?
- Role Clarity: Instantly see which department / team member is responsible for which part of the process.
- Efficient Assignment: Instead of assigning 20 individual steps, you can assign an entire lane to one person in a single click.
- Visual Organization: Helps break down complex, multi-departmental procedures into digestible sections.
-
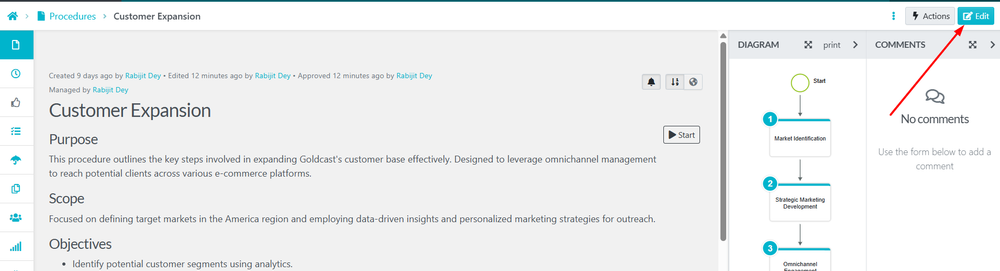
1Open Your Procedure / Process for Editing
- Navigate to the Procedures or Process tab.
- Select the procedure or process you want to modify.
- Click the Edit button in the top right corner.
-
2Create a New Step Lane
- Scroll down to the Steps List.
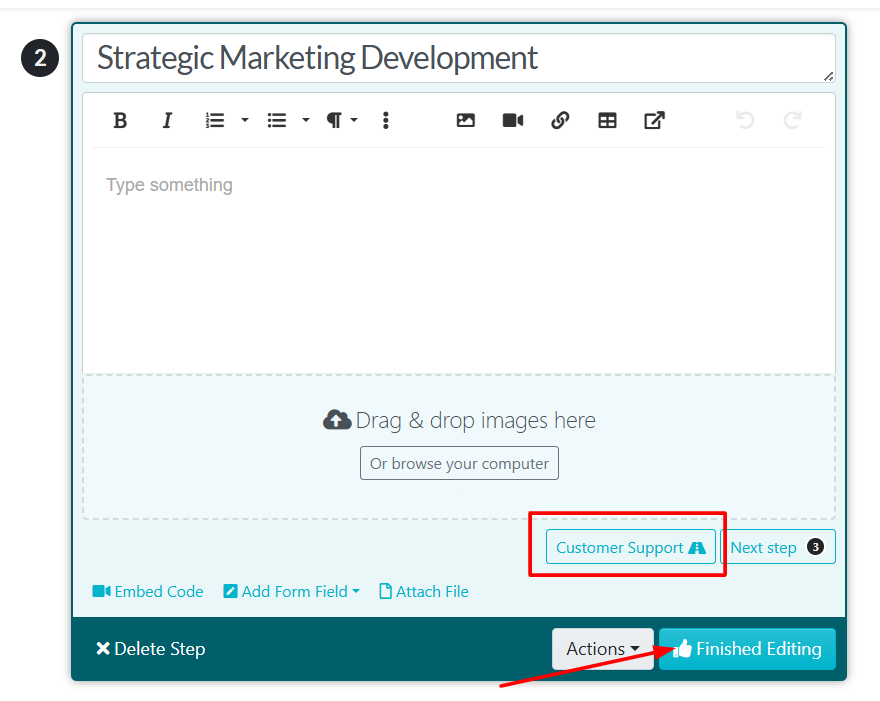
- Click the Edit (Pencil Icon) on the specific step where you want to add or change a lane.
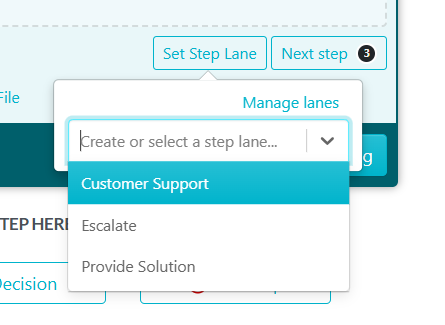
- Click the Set Step Lane button located below the text editor.
- If you need to create a new lane:
- Click Manage Lanes.
- Click + Add New Lane.
- Enter the name of the Lane
- Click the Checkmark or Add to save.

-
3Assign a Step to a Lane
- Once your lane is created, click Set Step Lane again.
- Select the desired lane from the dropdown menu.
- Click Finished Editing on that step.
- Repeat this for any other steps that belong in that lane.
-
4Assigning Tasks via Step LanesWhen you are ready to turn your procedure or process into an active task:
- Click Actions and select Assign as Task.
- In the Assignees section, click the toggle for Assign to steps and lanes.
- You will now see your lanes listed (e.g., "Customer Support").
- Click Assign next to the lane to choose a specific teammate, team, or role who will be responsible for all steps within that lane.

Did this answer your question?
If you still have a question, we’re here to help. Contact us